OT Guide 1947 – Quetico by summer 2015!!
Hello Everyone
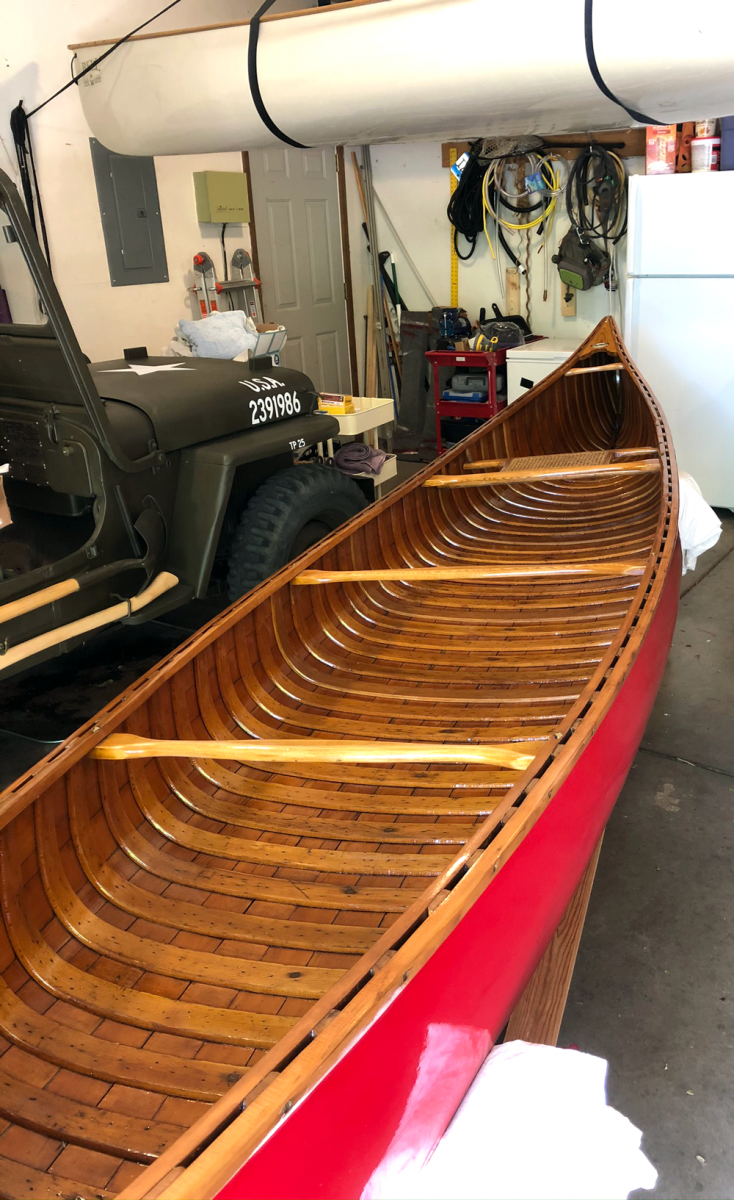
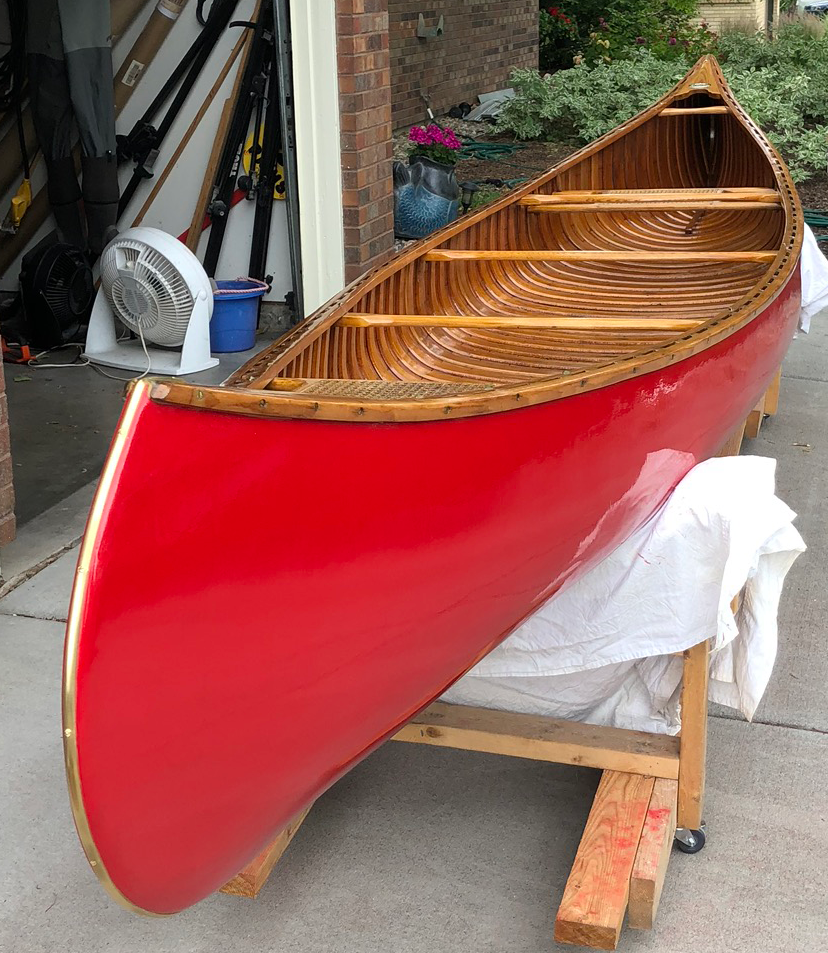
Just picked up a 1947 Old Town Guide 18’ that I think will interest folks. My goal for this boat is to make it structurally sound for use as a ‘tripper’. I would love to take it into Quetico next summer for our annual trip. So the goal is . . . Quetico by summer 2015!! Thanks goes out to Ed Moses for much advice and information!!
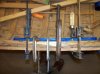
The canoe was advertised on the Santa Fe Craigslist, I called and talked to the owner, hemmed and hawed about snagging it, talked to the owner again, hemmed and hawed some more, had a good feeling about it, talked to Ed Moses, and finally decided why not. The canoe has spent the last 20+ years hanging from the rafters of a barn in NW New Mexico and before that – apparently – hung from the ceiling of an outdoor store in Grand Junction. How it got to Grand Junction – who knows? The spec sheet for the canoe is here
After a relaxing weekend and an amazing drive through the Carson National Forest with the aspens just starting to change, we arrived, snagged the canoe from the very nice owners, and were on our way. They are located in a stunningly beautiful but relatively remote part of New Mexico which I suspect contributed to the three-week listing time on Craigslist. If the canoe were on the East Coast it would have sold much sooner.
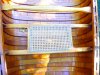
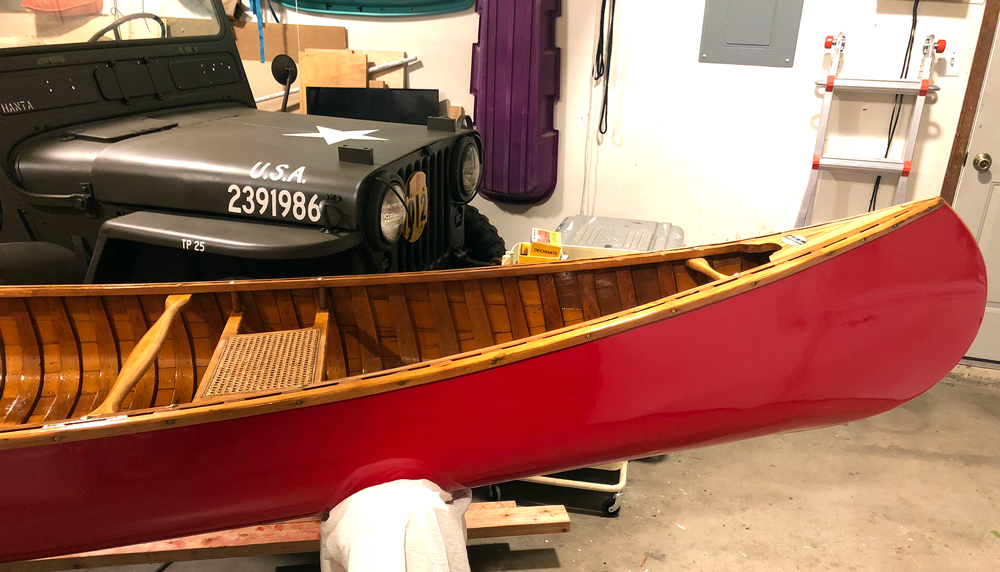
The overall condition of the boat is good but it is not water-worthy. Structurally the canoe is solid (at least I think so?) and needs minimally either a scarfed-in section of inwale, or a complete replacement, four ribs, and probably one deck? Stems, stem ends, etc are all in great shape and do not need repair or replacing. The wood is very dry and needs to be oiled and re-varnished inside and out before it can really be used (IMO).
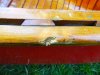
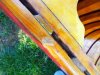
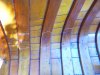
I may replace all of the outwales and inwales as the wood is very dry, dented and checked, with a few stress cracks. Not sure why these sections are so dry but it must be a consequence of the way the boat was stored at the top of the barn, worn and exposed wood at these locations, and air moving around three sides??
I can’t readily get a long plank of spruce here in CO and so would have to scarf the wales. If I were to go that route then I don’t really gain anything by not simply repairing the original piece. My fear is that it is damaged right where the center thwart is located so I would have a scarf in a very structurally sensitive location. An alternative to spruce that is readily available in this region is clear, vertical grain, Douglas Fir which I’m planning on using instead. I could also get a long plank of African Mahogany for the outwales but it would be expensive?
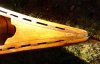
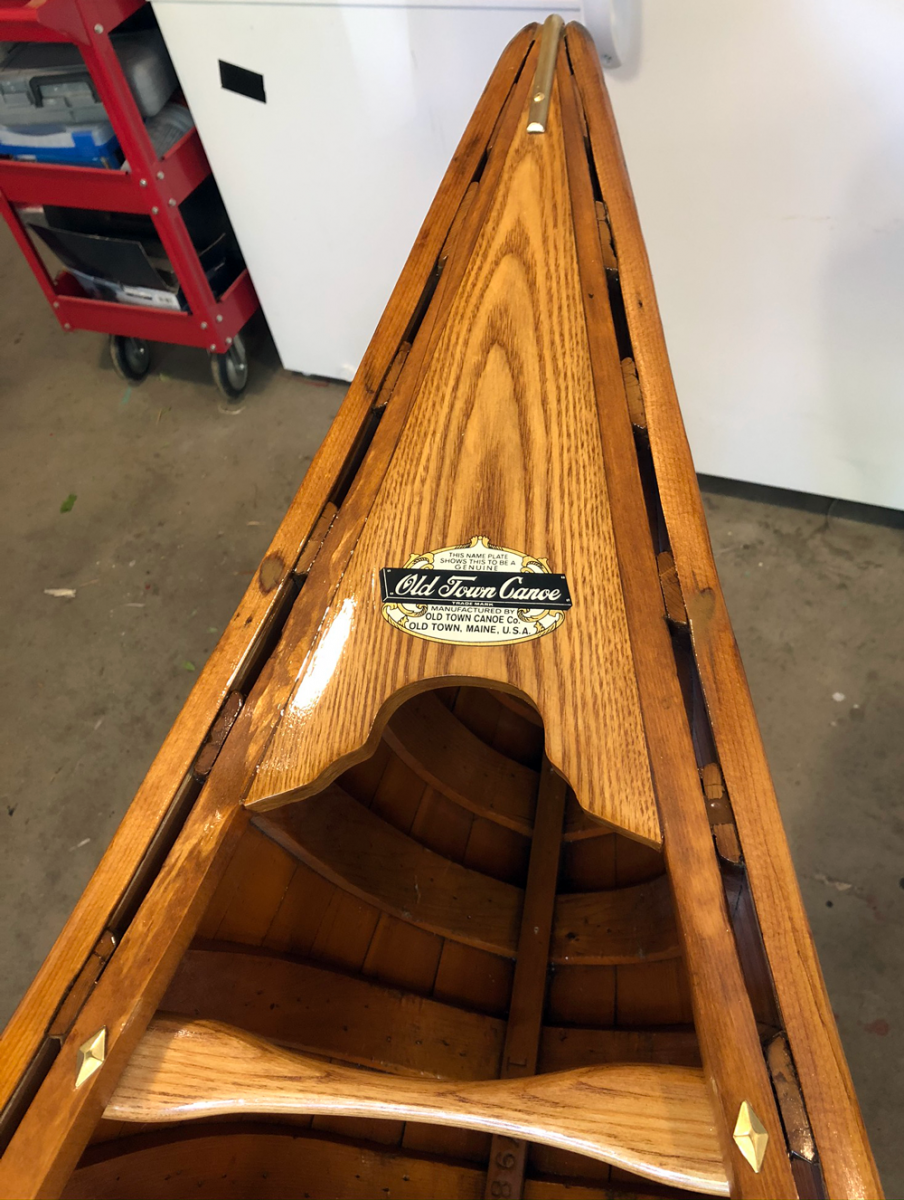
Not sure what to do about the decks? Both have damage originating from the end of the brass stem band. They could be epoxied into shape but you would be able to see the repair and I would cringe every time I looked at it. If I redo the inwales I might as well replace the decks – do I go with ash again or something fancy? The brass stem bands are there but were dangling when we picked up the canoe so I removed them for transport.
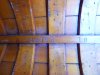
Rib replacement should be fairly straightforward though the three that are in sequence will have to be done one at a time to retain the shape of the hull. Some tips should also have new ends scarfed on.
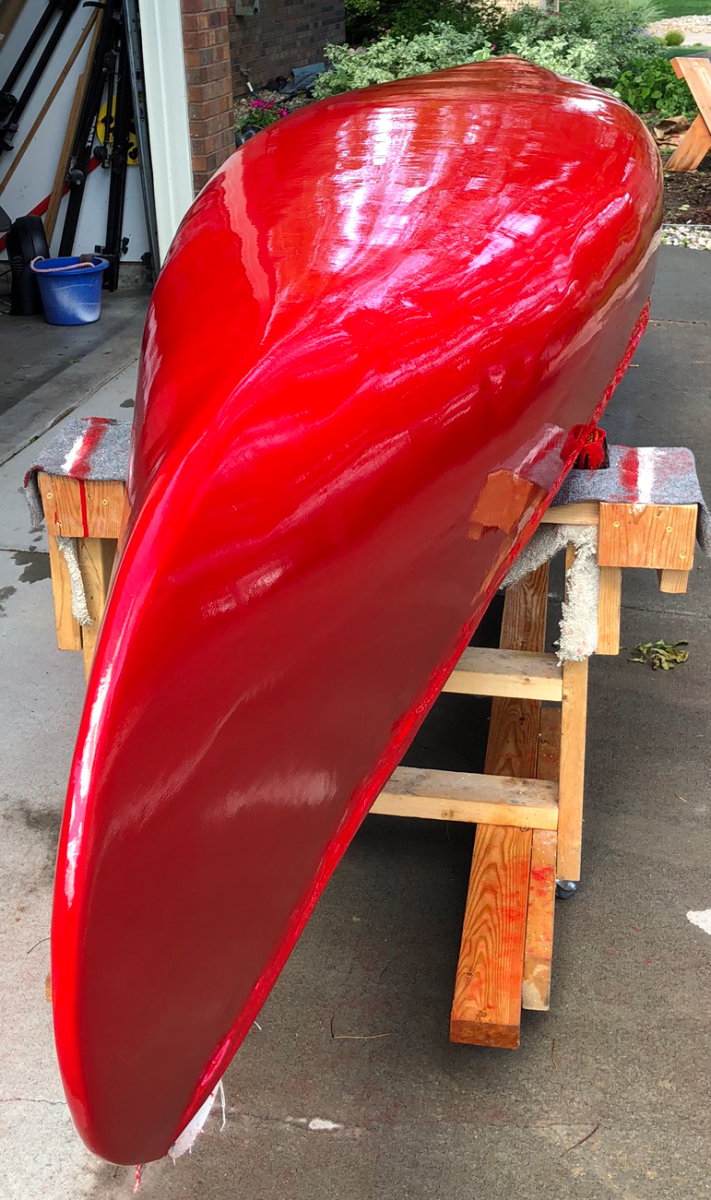
In terms of finish the interior varnish is in good shape and not flaking so as suggested by Ed I will probably just do a refresh rather than a stripping job. The canvas is shot of course. I have the brass stem bands which I think I can reuse. The keel is present and in good shape but is not going back on the boat – it’s massive.
Color – the spec. sheet says Guide Service gray, everyone likes the red, I really like the color of Tom Thompson’s canoe from the Canadian Seven.
As always advice is more then welcome
Chris
Hello Everyone
Just picked up a 1947 Old Town Guide 18’ that I think will interest folks. My goal for this boat is to make it structurally sound for use as a ‘tripper’. I would love to take it into Quetico next summer for our annual trip. So the goal is . . . Quetico by summer 2015!! Thanks goes out to Ed Moses for much advice and information!!
The canoe was advertised on the Santa Fe Craigslist, I called and talked to the owner, hemmed and hawed about snagging it, talked to the owner again, hemmed and hawed some more, had a good feeling about it, talked to Ed Moses, and finally decided why not. The canoe has spent the last 20+ years hanging from the rafters of a barn in NW New Mexico and before that – apparently – hung from the ceiling of an outdoor store in Grand Junction. How it got to Grand Junction – who knows? The spec sheet for the canoe is here
After a relaxing weekend and an amazing drive through the Carson National Forest with the aspens just starting to change, we arrived, snagged the canoe from the very nice owners, and were on our way. They are located in a stunningly beautiful but relatively remote part of New Mexico which I suspect contributed to the three-week listing time on Craigslist. If the canoe were on the East Coast it would have sold much sooner.
The overall condition of the boat is good but it is not water-worthy. Structurally the canoe is solid (at least I think so?) and needs minimally either a scarfed-in section of inwale, or a complete replacement, four ribs, and probably one deck? Stems, stem ends, etc are all in great shape and do not need repair or replacing. The wood is very dry and needs to be oiled and re-varnished inside and out before it can really be used (IMO).
I may replace all of the outwales and inwales as the wood is very dry, dented and checked, with a few stress cracks. Not sure why these sections are so dry but it must be a consequence of the way the boat was stored at the top of the barn, worn and exposed wood at these locations, and air moving around three sides??
I can’t readily get a long plank of spruce here in CO and so would have to scarf the wales. If I were to go that route then I don’t really gain anything by not simply repairing the original piece. My fear is that it is damaged right where the center thwart is located so I would have a scarf in a very structurally sensitive location. An alternative to spruce that is readily available in this region is clear, vertical grain, Douglas Fir which I’m planning on using instead. I could also get a long plank of African Mahogany for the outwales but it would be expensive?
Not sure what to do about the decks? Both have damage originating from the end of the brass stem band. They could be epoxied into shape but you would be able to see the repair and I would cringe every time I looked at it. If I redo the inwales I might as well replace the decks – do I go with ash again or something fancy? The brass stem bands are there but were dangling when we picked up the canoe so I removed them for transport.
Rib replacement should be fairly straightforward though the three that are in sequence will have to be done one at a time to retain the shape of the hull. Some tips should also have new ends scarfed on.
In terms of finish the interior varnish is in good shape and not flaking so as suggested by Ed I will probably just do a refresh rather than a stripping job. The canvas is shot of course. I have the brass stem bands which I think I can reuse. The keel is present and in good shape but is not going back on the boat – it’s massive.
Color – the spec. sheet says Guide Service gray, everyone likes the red, I really like the color of Tom Thompson’s canoe from the Canadian Seven.
As always advice is more then welcome
Chris