Murat V
LOVES Wooden Canoes
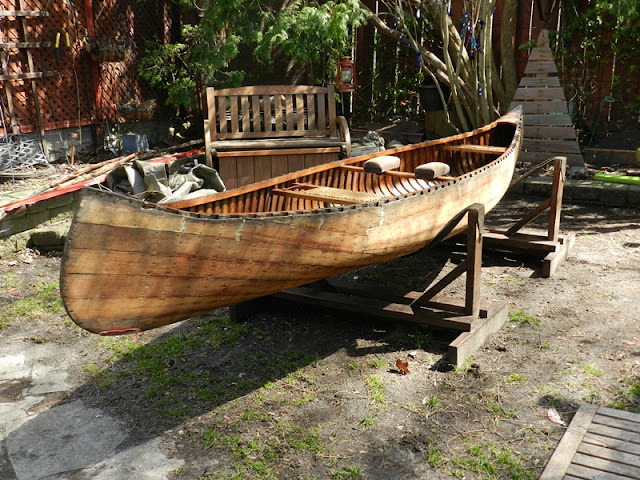
Spent a few months refurbishing a circa 1960 Chestnut Playmate. When I obtained the boat a few years back, the original canvas was heavily cracked. Managed to squeeze in 3 seasons of light usage by following some of the restoration advice of the pros on the forums. The canoe began leaking too much during a trip last fall so a new skin of canvas was needed going forward. Mike Elliot's restoration book, This Old Canoe, was a great resource. Also want to thank the folks at the 2018 Assembly in Peterborough where I got to see how to do the upside down method and get lots of tips from everyone. There really is no substitute for attending and learning at the Assembly.
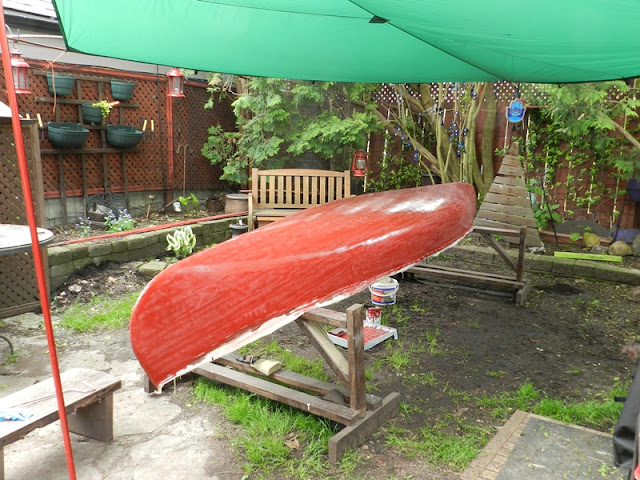
Without an indoor shop or garage to work in, I had to contend with doing everything in the back yard. We had a soaking wet spring so the weather conditions didn't help but got everything done. Ended up using some hardwood pieces from my son's disassembled crib to make the necessary clamps and elevated risers on the sawhorses to raise the canoe extra high...
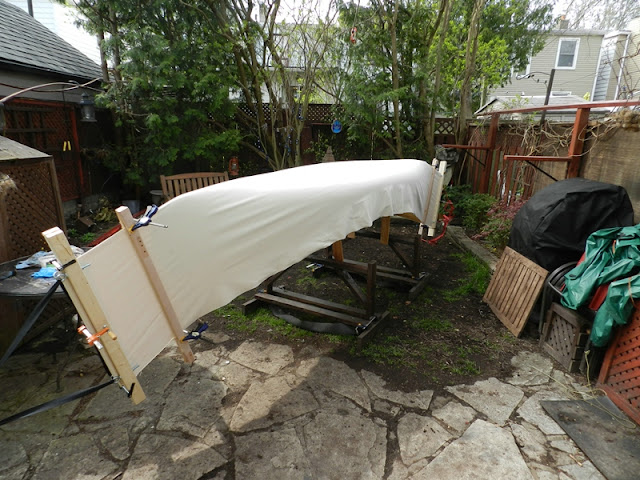
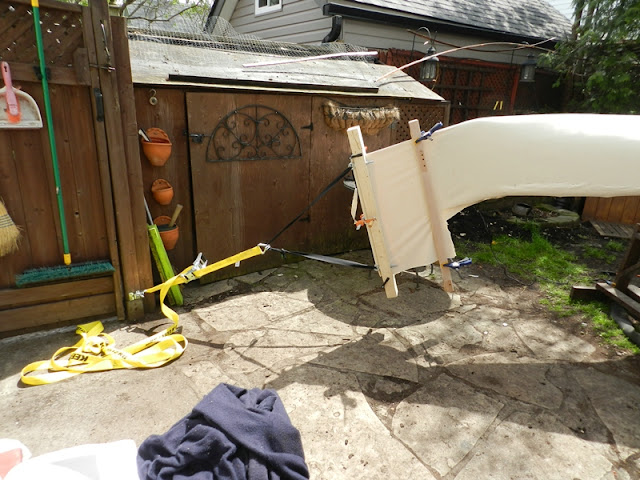
Improvised by using a Y-strap typically used to secure the canoe to a car roof rack as an anchor on one end...

...with a heavy duty 2" wide ratchet strap to provide tension on the other...
Ended up re-using the original stem bands after polishing them up. The original spliced oak outwales were in usable shape and were re-fastened with brass screws just to keep as many original parts as possible.
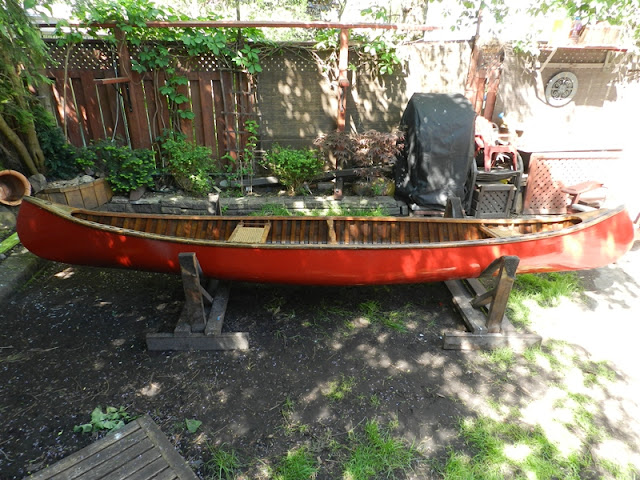
The keel was not re-installed saving about 4 pounds. Switching to #12 canvas and water-based pipe-lagging filler instead of #10 and oil-based filler saved another 5 pounds. It has been scaled at 59.5lbs. More weight could probably be shaved off in the future if I get rid of the stern seat since this boat will be used as a solo. Replacing the heavy oak outwales might help too.
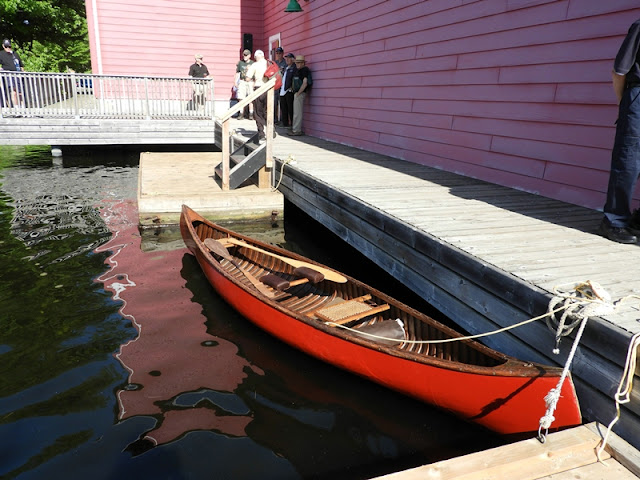
Here is the canoe floating nice and dry at a recent event in Gravenhurst, Ontario
Thanks to these fine forums for help and guidance along the way.
Without an indoor shop or garage to work in, I had to contend with doing everything in the back yard. We had a soaking wet spring so the weather conditions didn't help but got everything done. Ended up using some hardwood pieces from my son's disassembled crib to make the necessary clamps and elevated risers on the sawhorses to raise the canoe extra high...
Improvised by using a Y-strap typically used to secure the canoe to a car roof rack as an anchor on one end...
...with a heavy duty 2" wide ratchet strap to provide tension on the other...
Ended up re-using the original stem bands after polishing them up. The original spliced oak outwales were in usable shape and were re-fastened with brass screws just to keep as many original parts as possible.
The keel was not re-installed saving about 4 pounds. Switching to #12 canvas and water-based pipe-lagging filler instead of #10 and oil-based filler saved another 5 pounds. It has been scaled at 59.5lbs. More weight could probably be shaved off in the future if I get rid of the stern seat since this boat will be used as a solo. Replacing the heavy oak outwales might help too.
Here is the canoe floating nice and dry at a recent event in Gravenhurst, Ontario
Thanks to these fine forums for help and guidance along the way.