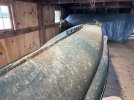
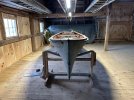
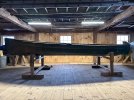
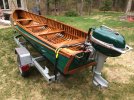
This boat has been sitting upside down on two cross timbers in my barn loft for 50+ years. I have the serial number and build record, it is the square stern sponson model. The boat belonged to my great grandparents (likely the second owners, we think they acquired it in the mid 1950s), and my Dad and my Uncle grew up using this boat at my great grandparents house on Lake Sunapee with a 1950s Johnson 5.5hp outboard and a set of oars for propulsion (both of which I also have). In the 1970s, my great grandparents gave the boat to my grandfather, and it ended up stored in the loft of his (now my) barn, never to be used since.
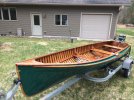
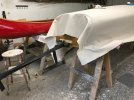
I've been eyeing the boat and contemplating getting it fixed up so I can use it with my kids and explore local waters and do some fishing, similar to how it was used in the '60s when my Dad was growing up. This winter, I finally started to evaluate more carefully and built some horses for it and got it out of the loft. Thus far, I've vacuumed out the cobwebs and some of the dust and debris from 50+ years in a hayloft and started looking at condition/needs.
I'm an amateur with respect to wood/canvas boats, but here's what I have deduced so far:
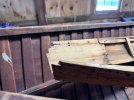
I've included a few photos to illustrate what I mean. I think my next step is getting the floor rack out, which probably will require removing the stern seat. Then the whole boat probably needs a good scrub with soap and water once the weather gets a little warmer.
Thanks in advance for any advice/thoughts!
I've been eyeing the boat and contemplating getting it fixed up so I can use it with my kids and explore local waters and do some fishing, similar to how it was used in the '60s when my Dad was growing up. This winter, I finally started to evaluate more carefully and built some horses for it and got it out of the loft. Thus far, I've vacuumed out the cobwebs and some of the dust and debris from 50+ years in a hayloft and started looking at condition/needs.
I'm an amateur with respect to wood/canvas boats, but here's what I have deduced so far:
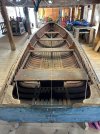
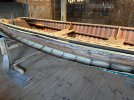
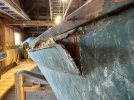
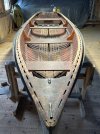
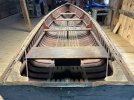
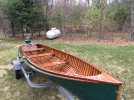
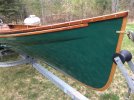
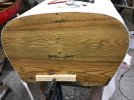
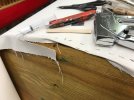
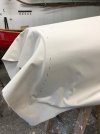
- Canvas - deteriorated and split near the keel at the bow. Must be replaced.
- Stem band - broken
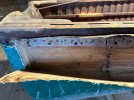
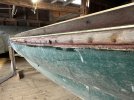
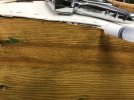
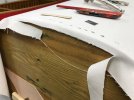
- Varnish - worn away in some places, ugly/failing in some others. Must be stripped for refinish.
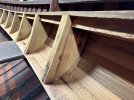
- Outwhales/Inwhales - wood is worn from use, but seems sound aside from some dings and gouges.
- Ribs/Planking - I haven't seen any issues with what is exposed thus far, but I am a little concerned about the bow area near the keel. Getting the floor racks out and cleaning up underneath may reveal more.
- Wood overall is very dry and needs to be revitalized
I've included a few photos to illustrate what I mean. I think my next step is getting the floor rack out, which probably will require removing the stern seat. Then the whole boat probably needs a good scrub with soap and water once the weather gets a little warmer.
Thanks in advance for any advice/thoughts!
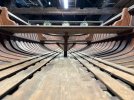
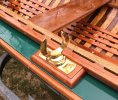

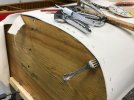
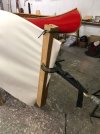
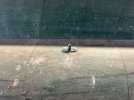
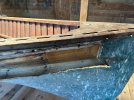
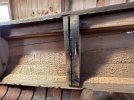
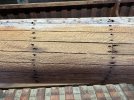
") . You can see this deviation in the vertical supports pretty clearly in the photo of the string down the centerline right over the keel. This is something I can live with, as I don't want fuss with creating new holes just to get the support vertical.
. You can see this deviation in the vertical supports pretty clearly in the photo of the string down the centerline right over the keel. This is something I can live with, as I don't want fuss with creating new holes just to get the support vertical.